Customization & Sampling
Pointed Sequin Loop Trim: Set the Direction Before Cutting
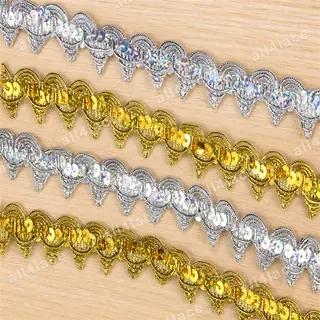
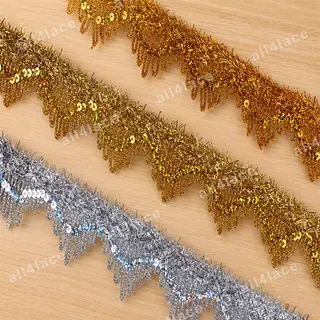
A loop-and-point border has a clear top and bottom. Turning a cut length around may place the points toward the skin or reverse the reflected pattern. Record direction on the sample before calculating garment lengths.
Pointed sequin-loop trim: mark the face and hanging direction
Place an arrow on the band backing and photograph the front, back and cut ends. Check whether the pointed extensions face one side consistently over several repeats; a single short motif may hide a change at a join.
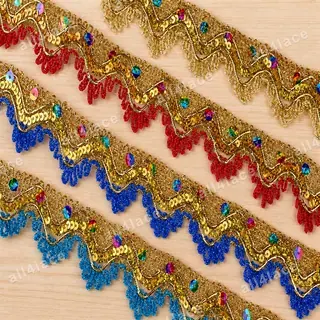
On the crown-edge trim below, use the gold wave and the row of coloured loops to mark the upper and lower edges. Check the reverse and skin contact on a sewn sample.
Pointed sequin trim on paired cuffs or hems: check the worn orientation
Pin the trim on the intended cuff or hem and inspect it upright on the body. Move the panel and check skin contact, lift and direction at left and right pieces. Mirror by planning cuts, not by flipping the decorated side to the reverse.
Pointed sequin trim approval: cutting direction and left-right lengths
Approve a drawing with right side, feed direction, start/end points and permitted joins. Count separate left and right lengths in the layout. If a point falls into a seam, decide in the sewn trial whether clearing that area is acceptable.
Discuss your embroidery project
Send the directional sample photo and garment layout to All4Lace.
Contact Zhijin